This post may contain affiliate links. If you buy through them, we may earn a small commission at no extra cost to you. Our disclosure.
Most tired furniture does not need to be thrown out. It needs a new face.
Contact paper furniture projects are cheap, quick, and easy to undo, which makes them a safe place to start if you have never wrapped anything before. Roll a wood grain over a worn sideboard, cover a plain fridge in coral pink, or turn a dull dining table glossy white, and the room looks different by Sunday night.
The nine makeovers below show how that looks on wardrobes, kitchen cabinets, tables, a fridge, and even a bathroom vanity. Each one has a small idea you can borrow, plus a quick visual to keep on your phone while you work.
Skim the list and save the ones that fit your home. Start with the smallest piece first. Keep a craft knife and a soft squeegee close by. You do not need fancy tools. You need clean surfaces, a little patience, and a roll you actually like.
1. Wrap a Walnut Sideboard One Door at a Time
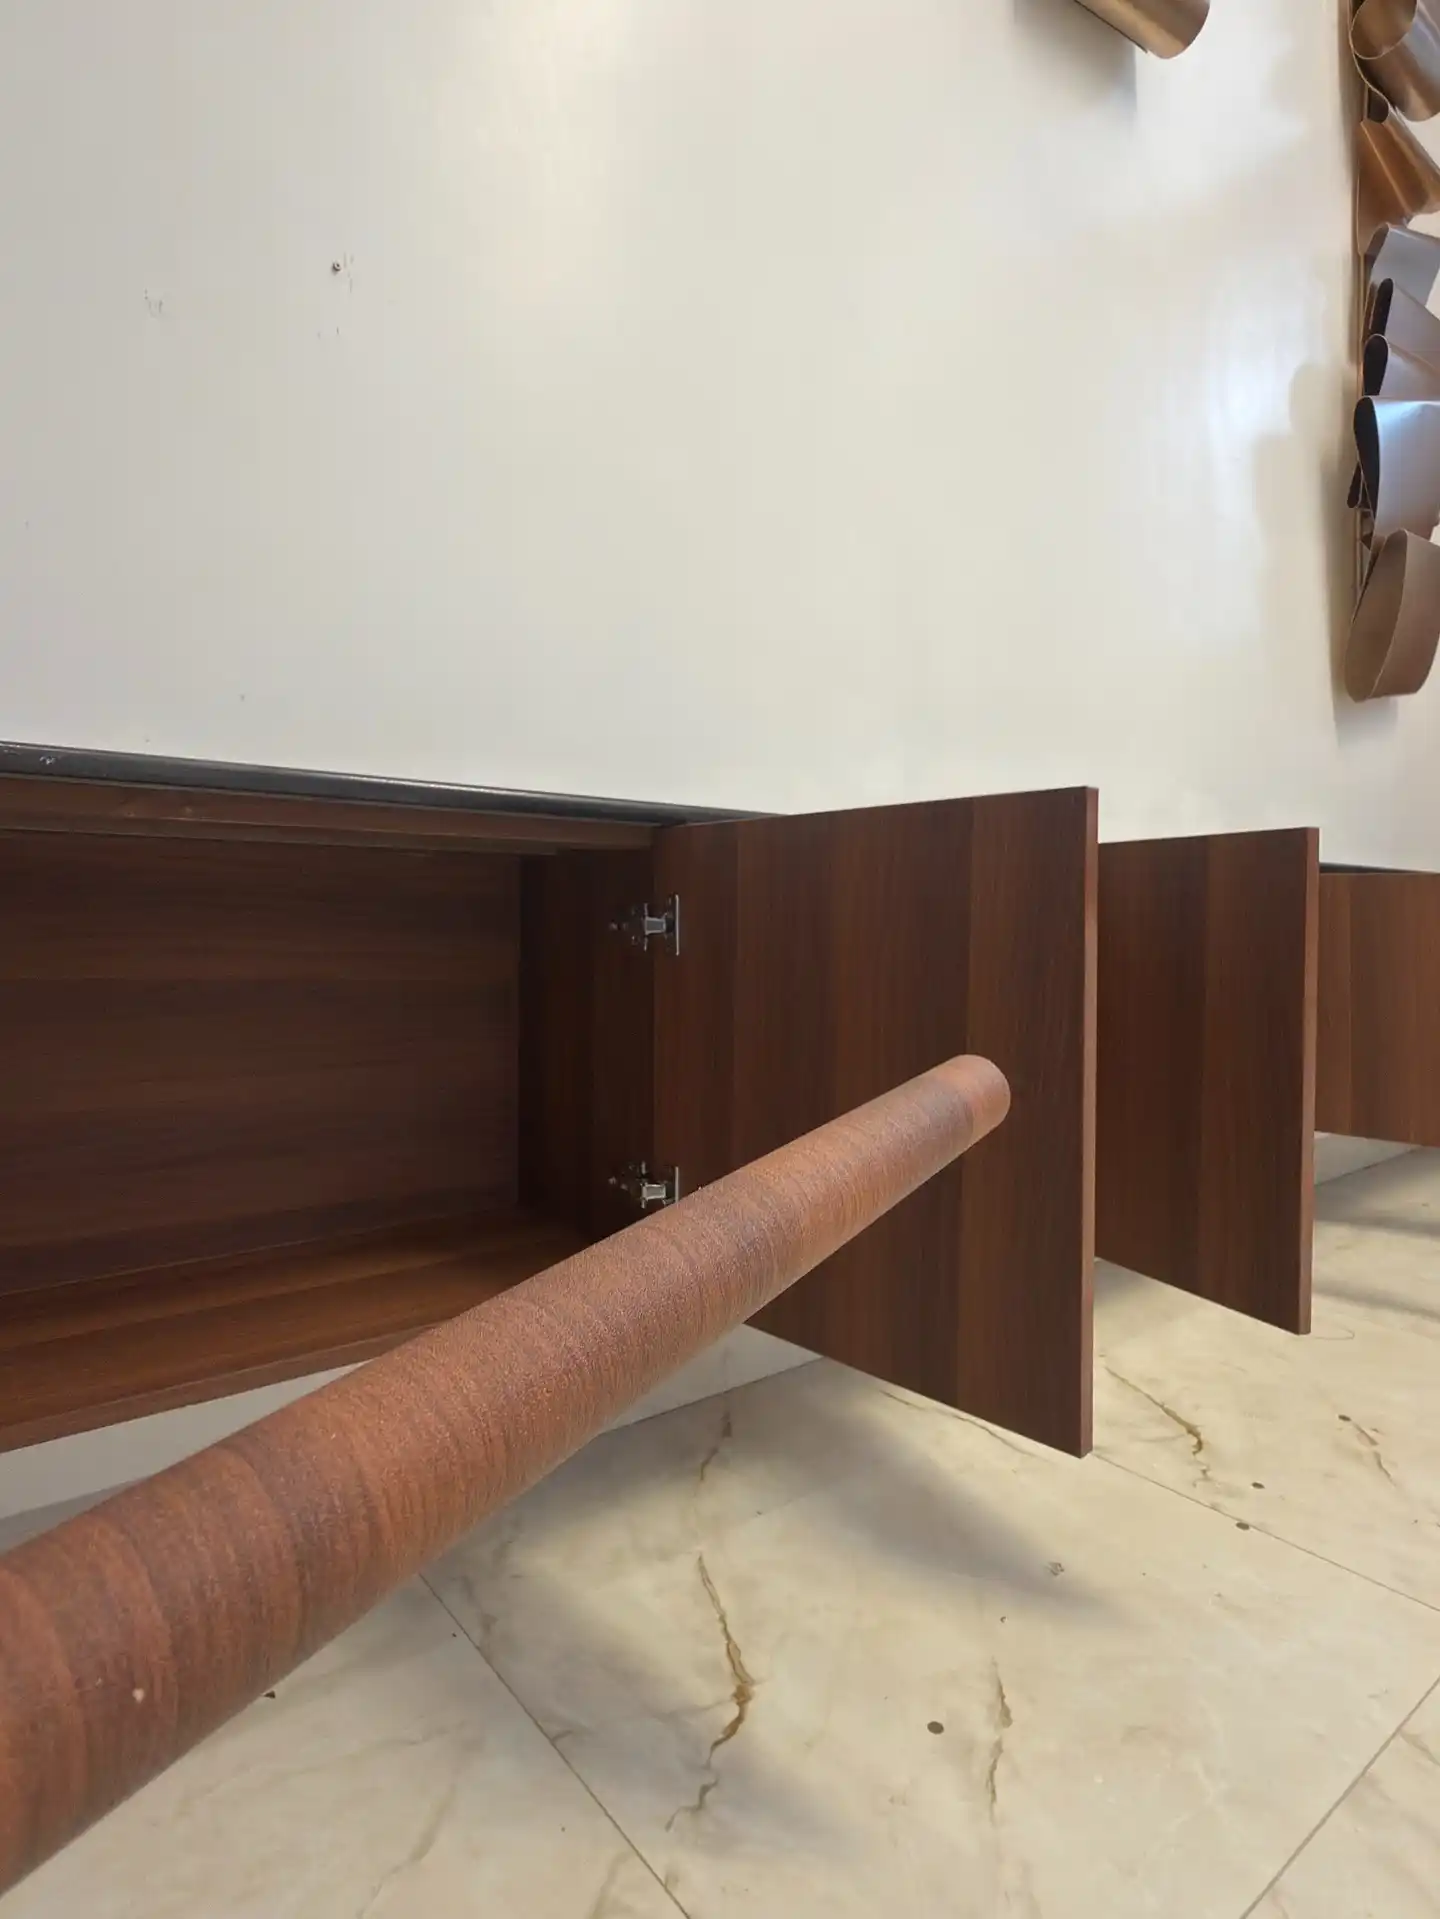
Start with the doors, because they are flat and forgiving.
- Open the cabinet and look at the hinges first. They show you how each door lifts off so you can lay it flat.
- Run the grain the same way on every door so the whole run reads like one piece of wood.
- Cut each piece a little bigger than the door, then trim after it is stuck down.
The roll in the photo is a warm reddish wood grain, a touch lighter than the doors. Hold the roll against a door in daylight before you cut. Colors shift under room lights.
Before you peel
2. Give a Plain Fridge a Soft Coral Pink Wrap

Big flat panels are the easiest thing to cover.
Fridge doors have almost no curves, so the paper goes on in long, clean sheets. In the photo, the wrap runs around the side panel too, and it stops neatly at the black water dispenser. That is why the color looks built in instead of stuck on.
The backing paper curled on the floor shows how much a full wrap uses up. Buy a little more than your measurements say.
Peel the backing back a few centimeters at a time and smooth as you go. Rushing the first door is how bubbles happen.
3. Make Old Wardrobe Doors Look Like Light Oak

Vertical grain makes a wardrobe look taller. The doors here share one soft brown grain that runs top to bottom, and slim black bar handles keep the front calm and clean.
Look at the thin dark gaps between the doors. Those lines hide where one sheet ends and the next begins, so plan your seams to land right there.
Handles do half the work.
Run the grain the same direction on every door.
Swap old knobs for slim black bars.
Mixing two wood tones on one wall.
Pulling the paper hard around corners. It tries to spring back.
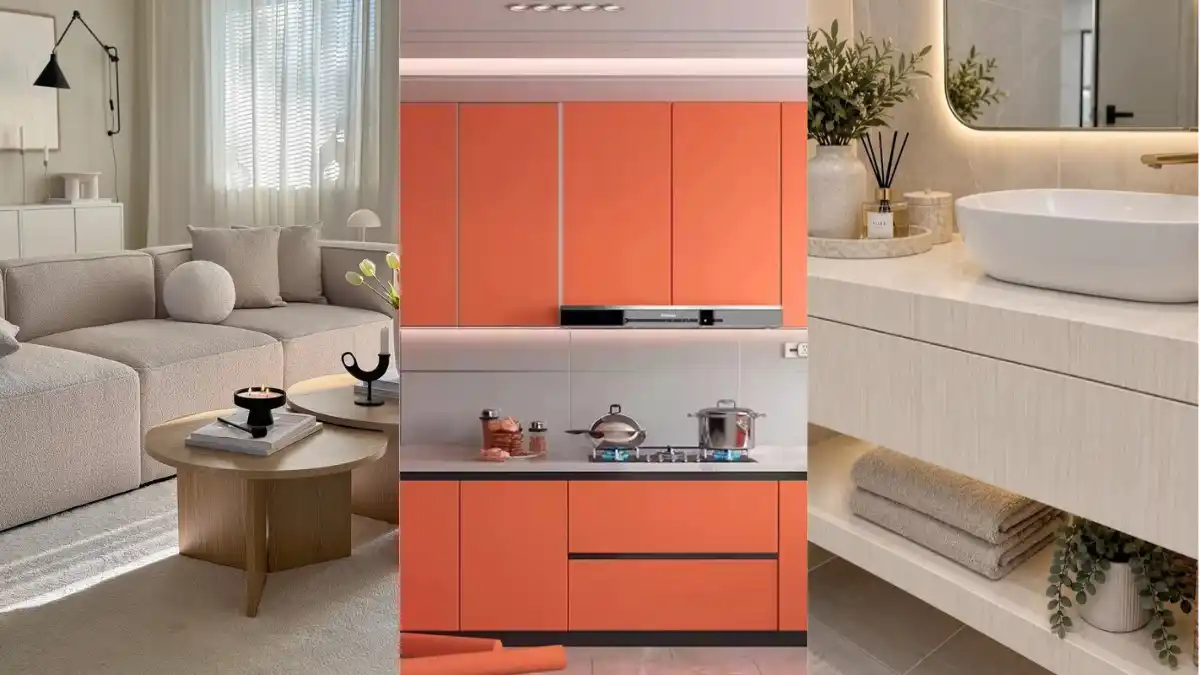
4. Turn Dull Kitchen Cabinets Bright Orange
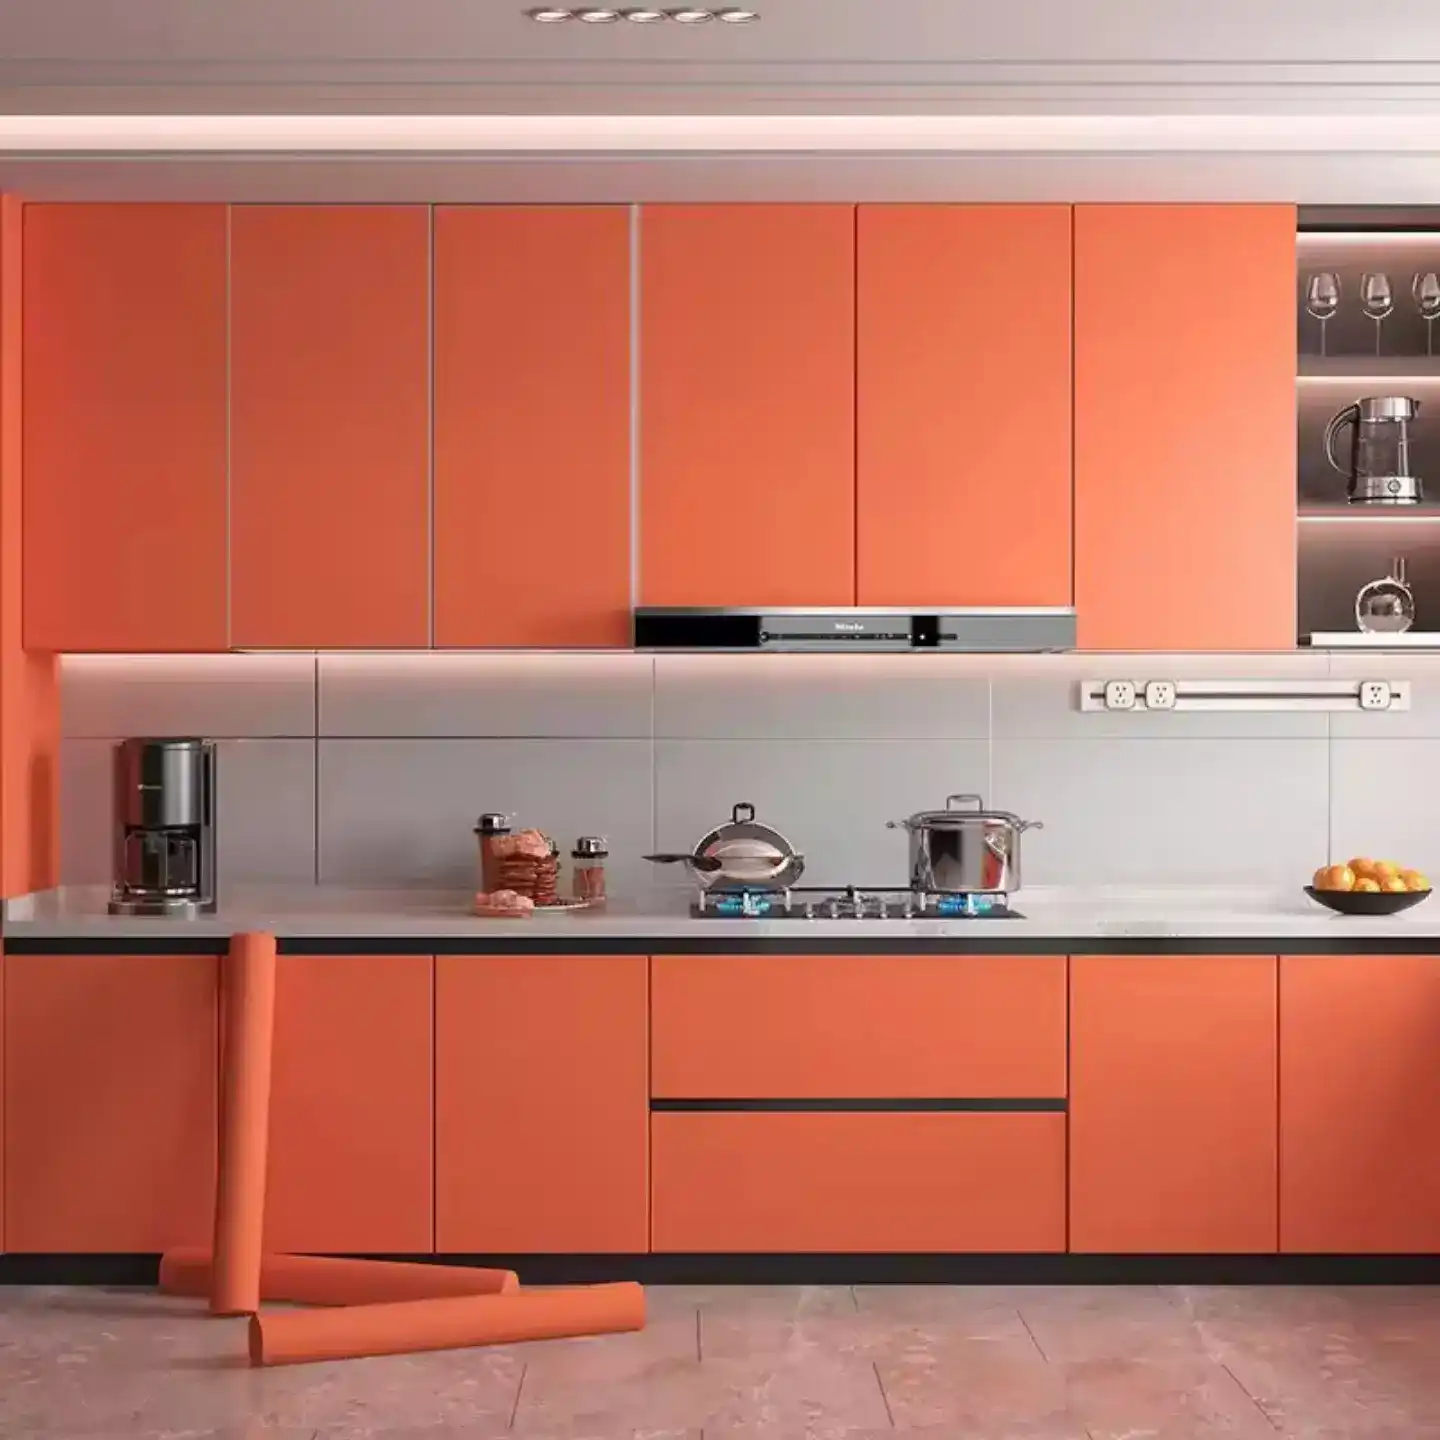
Bold color works best when everything around it stays quiet.
- The backsplash tiles are pale grey.
- The counter is a soft white.
- Both rows of doors and every drawer front are the same orange.
That is the whole plan. Grey and white give the eye a place to rest, so the orange can do all the talking. The rolls leaning on the floor say it too: one color, one finish, every door.
One bold color on the doors, with quiet tiles and counters around it, changes a kitchen without touching the layout.
5. Gloss White Wrap for a Built-In Wardrobe and Vanity Nook

Gloss makes a small room feel bigger, but it shows every mark.
In this hallway, glossy white doors run from floor to ceiling, with a mirror nook and four drawers in the middle. You can see the ceiling light reflected in the door. That bounce of light is the gloss at work, and it is why the narrow space does not feel boxed in.
The curved and straight black handles break up all that white. Without them the wall would look flat.
Pick gloss or matte before you buy, because the two live very differently day to day.
| Gloss | Matte |
|---|---|
| Bounces light around the room. | Softens light and cuts glare. |
| Shows fingerprints fast. | Hides fingerprints better. |
| Good for small, dim rooms. | Good for busy family spaces. |
6. Round Coffee Tables in a Light Oak Finish
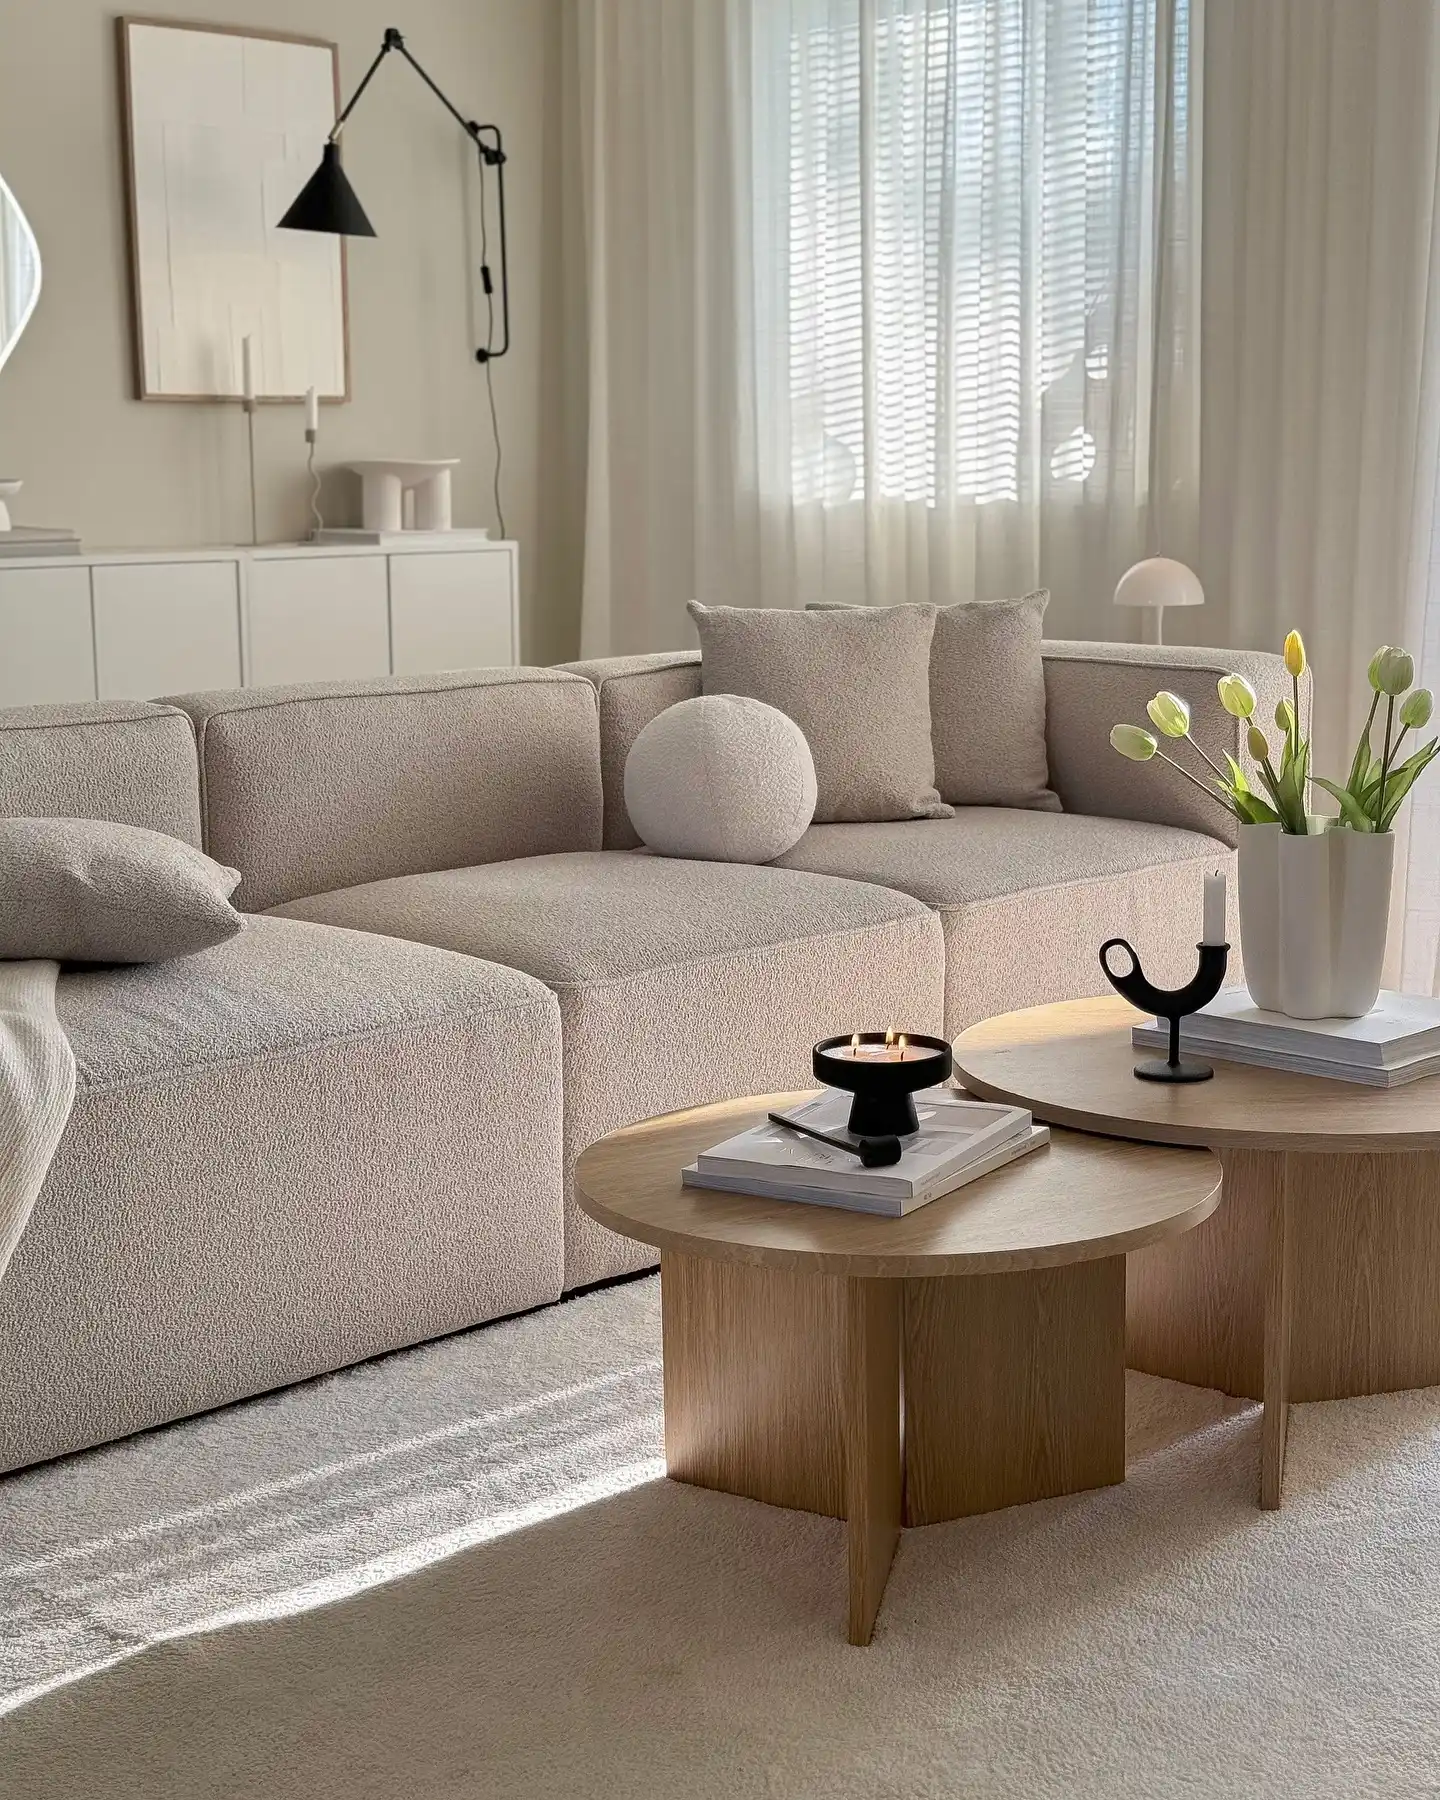
Small tables are the gentlest first project.
A round top and a plain, flat base leave only a few surfaces to cover. The two tables here share one light oak tone, and one sits slightly lower than the other, so they read as a set. If your own tables do not match, one roll of wood grain can fix that.
The cream sofa and sheer curtains keep the room quiet, which lets the wood be the main texture.
💡 Quick Tip
For a round top, cut a square a little bigger than the table. Lay it down, then make small cuts around the overhang so the edge folds flat without bubbles.
7. Marble Look Contact Paper Furniture for an Island and Sideboard
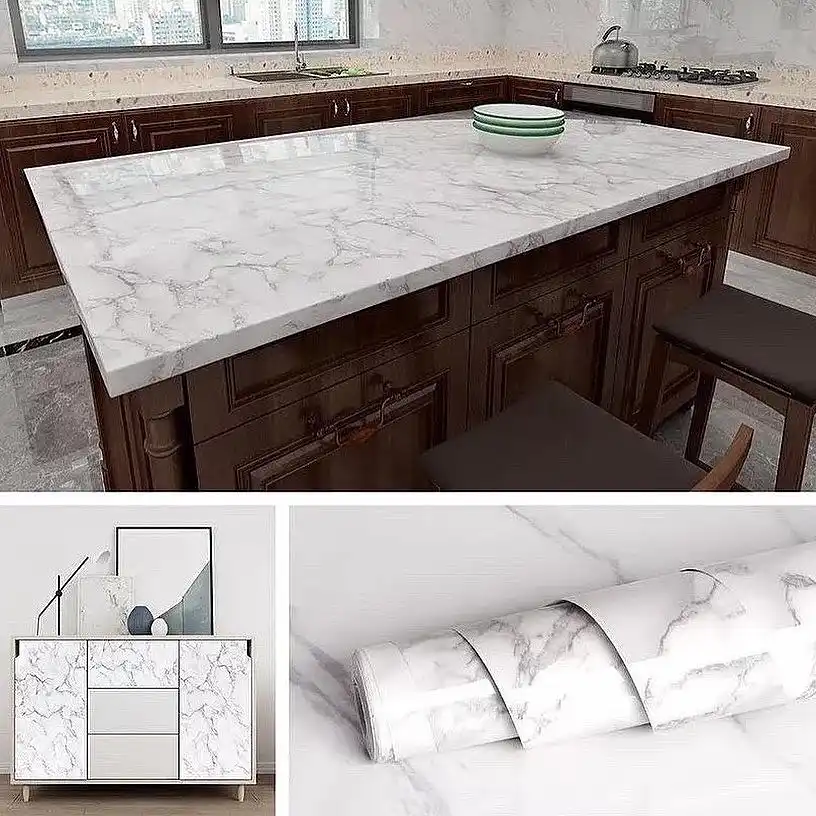
The island keeps its dark, carved cabinet base. Only the top changes. That contrast is the whole trick: a light stone look on top, deep wood below.
The small sideboard in the corner of the collage shows the same pattern on flat doors. Soft grey veins on white are easy to repeat across panels, since no one expects marble to match perfectly.
One warning for the kitchen. Use a trivet under hot pots. Paper does not like heat.
8. Cover a Tired Dining Table With Glossy White

On a wide table top, the biggest enemy is a bubble.
The roll in the photo rests right on the surface, and a lifted corner shows how the sheet peels back if you need to reposition it. Choose a roll wide enough to cover the top in one piece, so there is no seam running across where you set your plates.
A glossy white top also bounces light back at the beige chairs around it, which brightens the whole dining corner.
Clean the top and let it dry completely.
Start at one short edge and peel back only a few inches of backing.
Smooth with a card, pushing from the middle out to the edges.
Trim the overhang with a sharp blade held at a low angle.
9. A Floating Vanity in Soft Cream Wood Grain
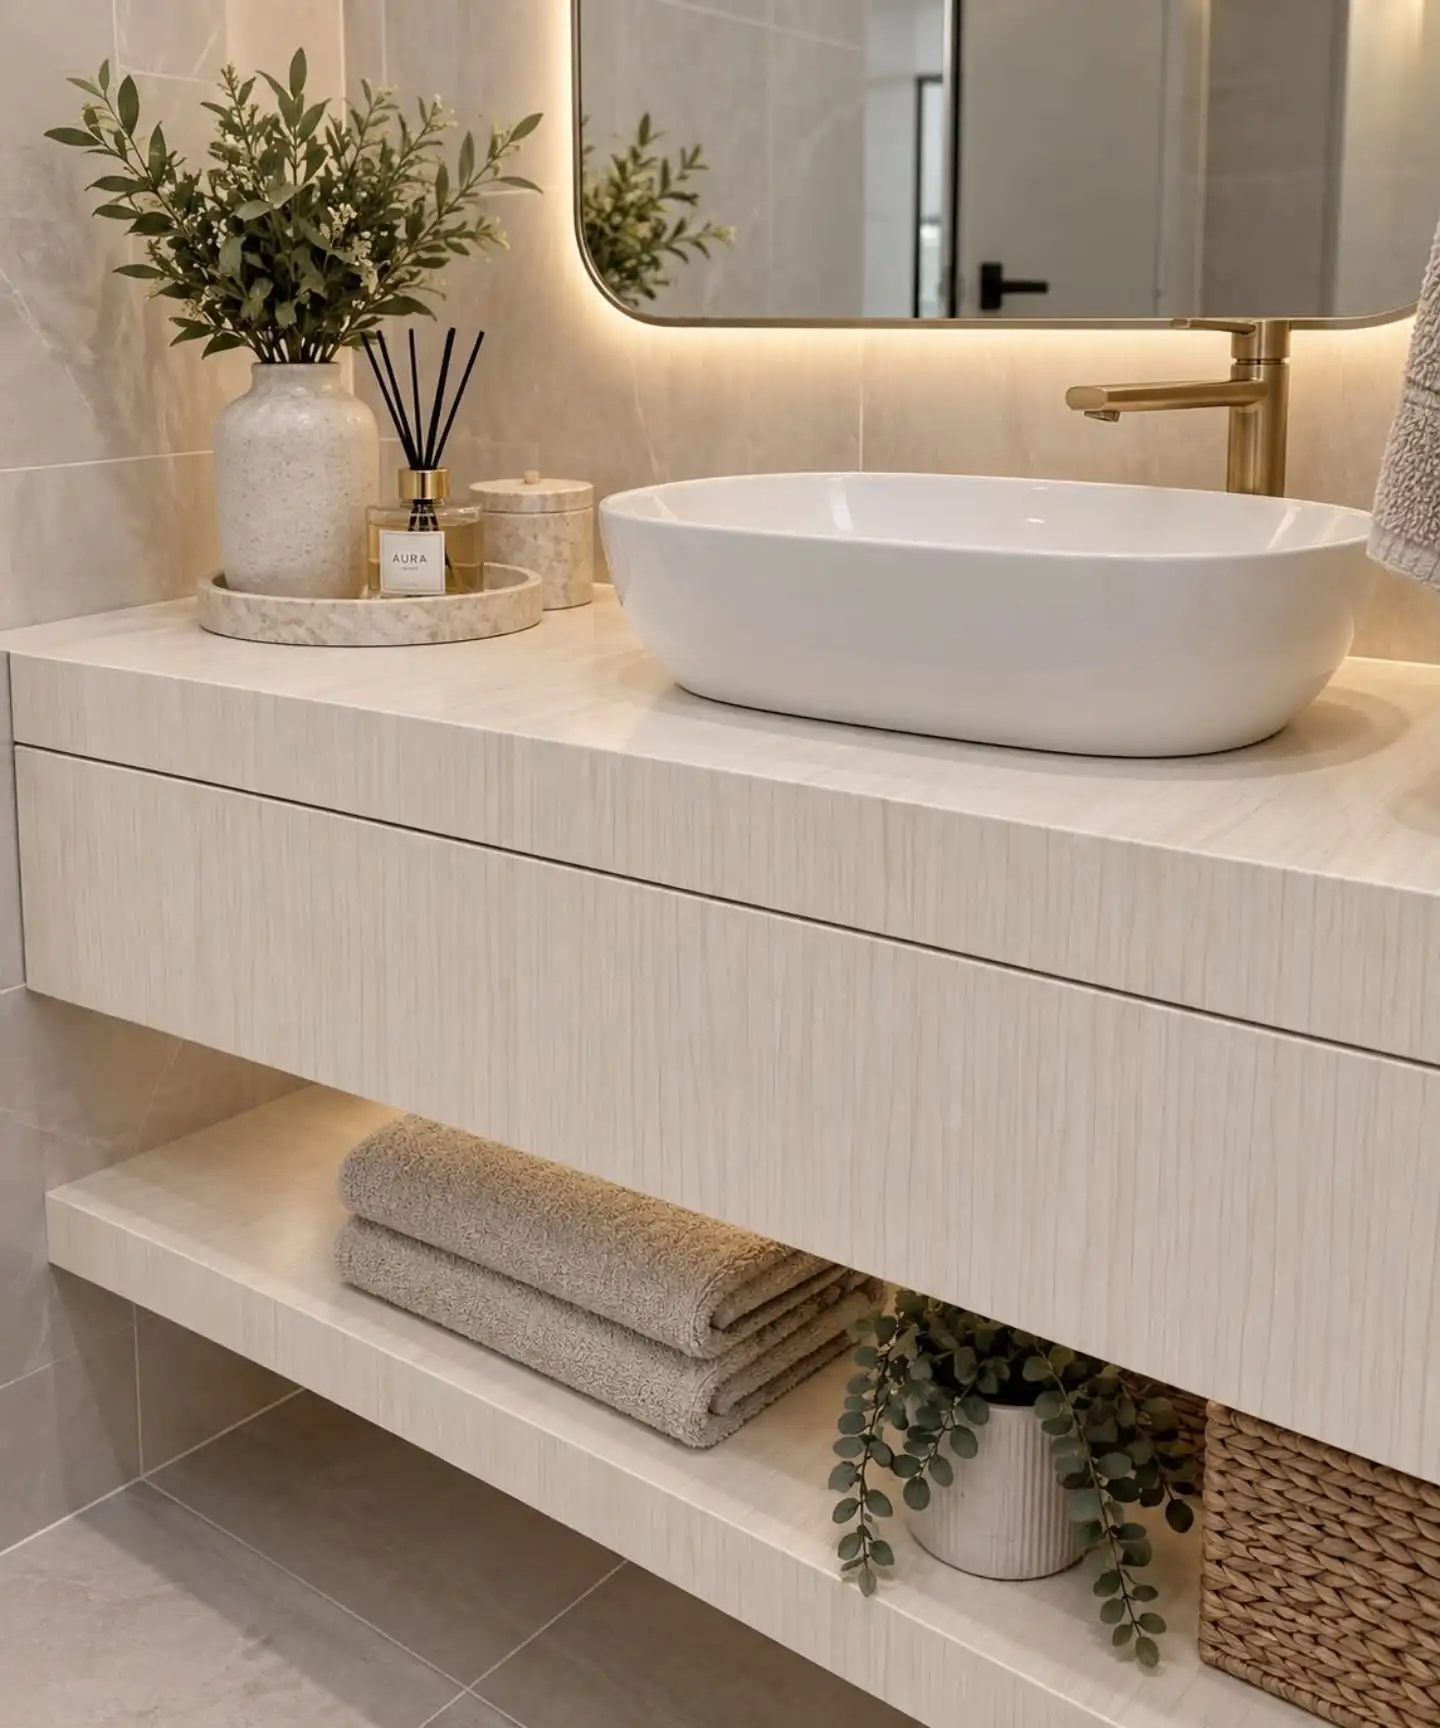
Bathrooms are the toughest test for any wrap.
The vanity here is a wall-mounted slab with one drawer front and an open shelf below, all in a pale cream grain. One pattern runs over the top, the front, and the shelf, so the whole piece looks like a single block. Rolled towels and a small plant on the shelf keep it relaxed.
Steam and splashes find every open edge. Tidy, sealed edges matter more here than the pattern you pick.
- ▸Pick a roll made for wet rooms, and check the label.
- ▸Dry the surface fully before you start.
- ▸Wrap shelf edges around to the underside.
- ▸Seal cut edges near the sink with a thin line of clear silicone.
Final Thoughts on Contact Paper Furniture
You do not need a big budget or a free month to change a room. Pick one piece, pick one finish, and give it a weekend.
The nine ideas above show that contact paper furniture can look like walnut, oak, marble, or a bold color, as long as the surface is clean and the edges get a little care. Start with something flat and small, like a table top or a set of doors. Work up to bigger pieces once you trust your hands.
Save this post to your home decor board on Pinterest so your favorite finish is easy to find when the weekend comes.
Keep Reading: More DIY Room Decor
- Cricut Projects for Home Decor: 10 Easy Ideas to Make
- Laundry Room Ideas: 8 Easy Upgrades for Laundry Day
- Gallery Wall Ideas for Beginners: 10 Easy Layouts
- Browse all DIY room decor ideas
Amelia has decorated four rented flats and one small terrace in London. She writes about making ordinary rooms feel warm on a real budget, and tests lighting and layout ideas in her own home before recommending them.